
People commonly get discouraged with Cold Emailing, maybe because lack of clear material online, or payment gateways to access private content.
We will offer you a free guide to start right away in order to get more prospects on your business journey, trying to be clear and straightforward.
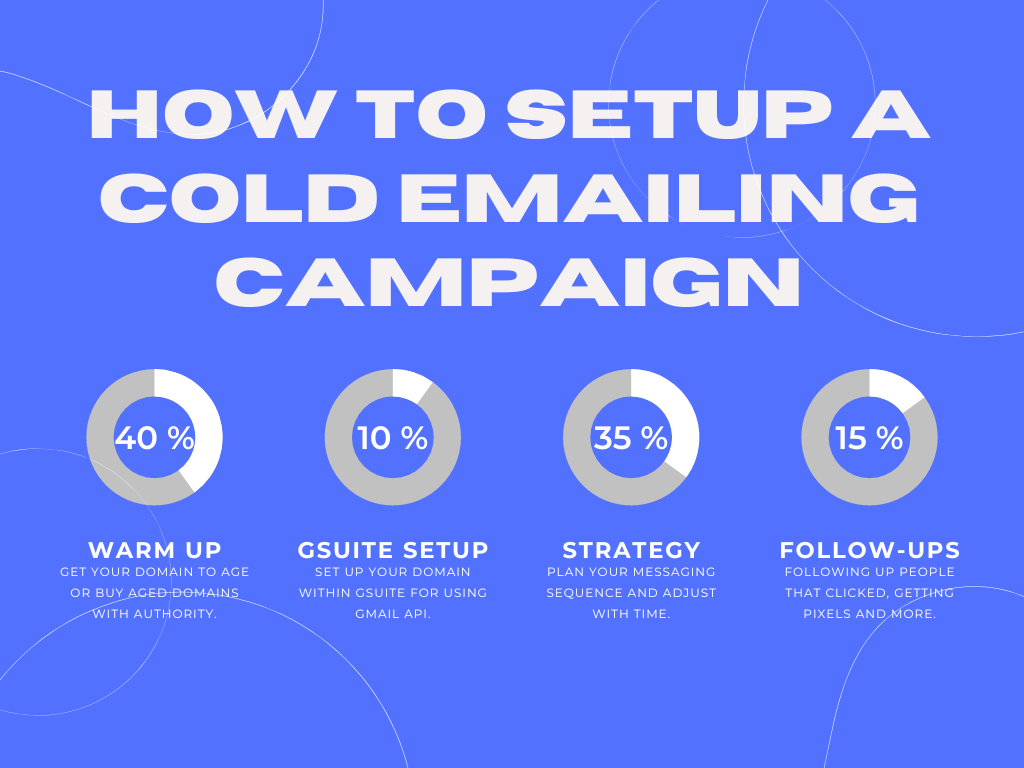
Set Up your domain with Gmail
Verify Domain on Google and Microsoft servers.
On this step you will need to have a domain with at least 6 months of age. The aged the better.
If you buy an aged domain make sure it doesn’t have a bad reputation. You can check this on Gmail Postmaster service. You can also use Microsoft SNDS to reinforce verification and delivery rate to Microsoft services.
Register your domain email into Gmail and Google Suite
Once you verify your domain on Gmail Postmaster, you will need to register an email and link it to your existing email.
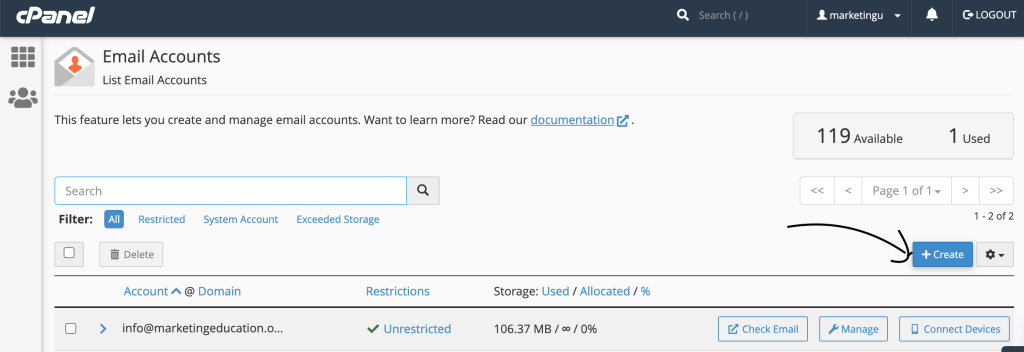
First I create my email using cPanel, maybe you have Plesk or other hosting to do this.
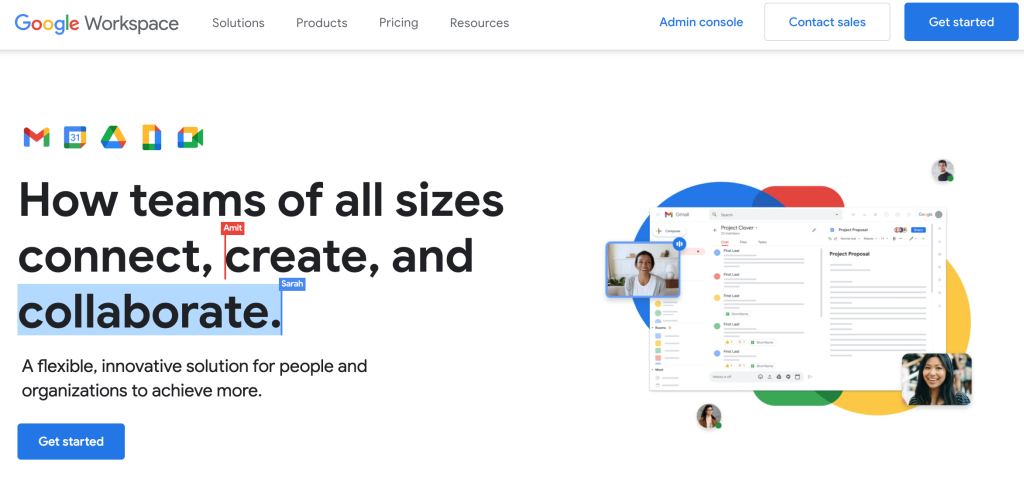
Second Go to Google WorkSpaces and register an account. If you already have one, then you can add new emails into your existing one. But in this case it will be a new one.
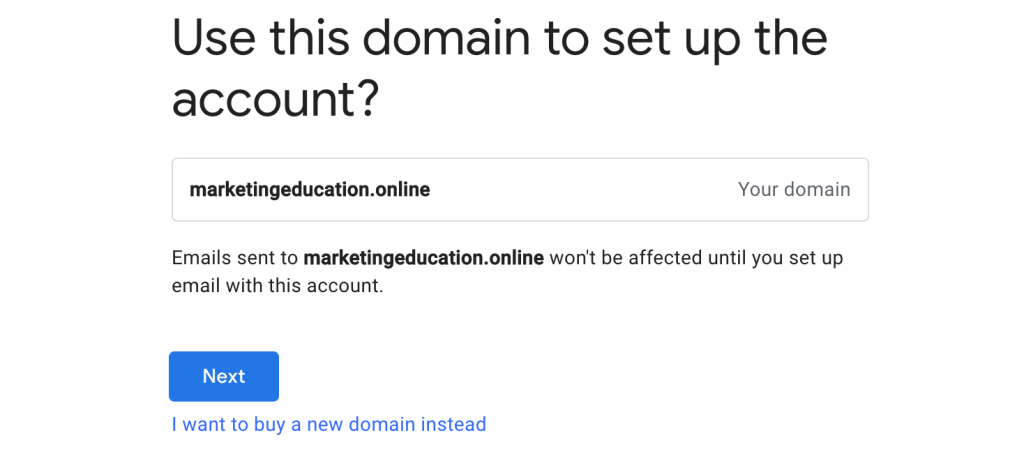
You can follow the wizard, it is fine. But when it comes for a domain. If you don’t have one, you can buy and host it with google. In this case I already have a domain.
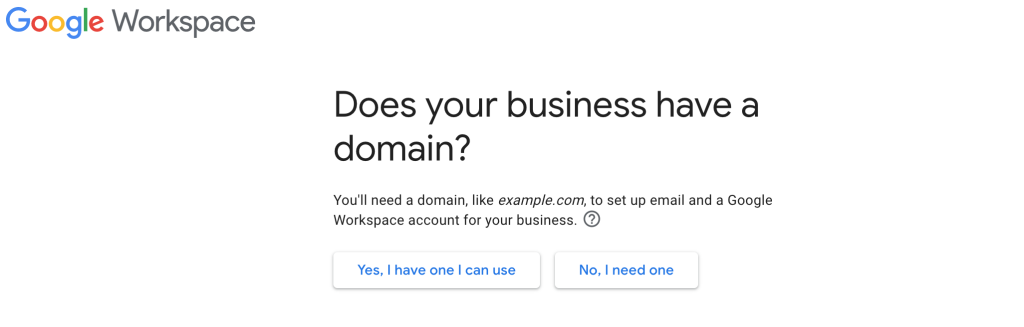
Yes, I have one I can use.
If you have other emails with this domain you will need to transfer them to Gmail, resulting in $6/m on each email. That is why you can do campaigns with different domains.
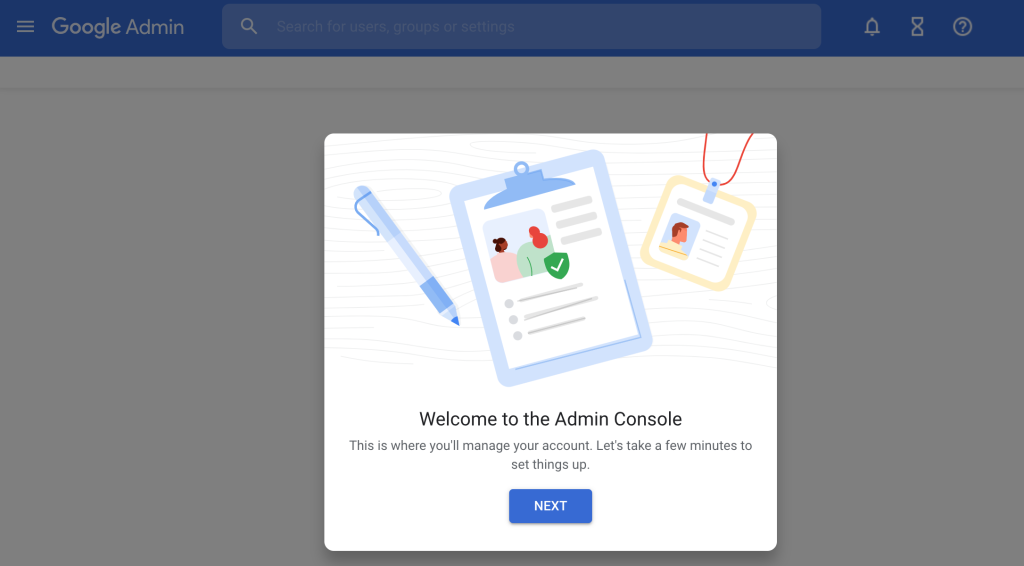
Complete the registration then click Continue to Setup
You will be welcomed to the Google Admin Console which will help you to add other emails and domains on same place.
Then you will have to follow all the guide to complete the Protection, Verification and Configuration of your domain.
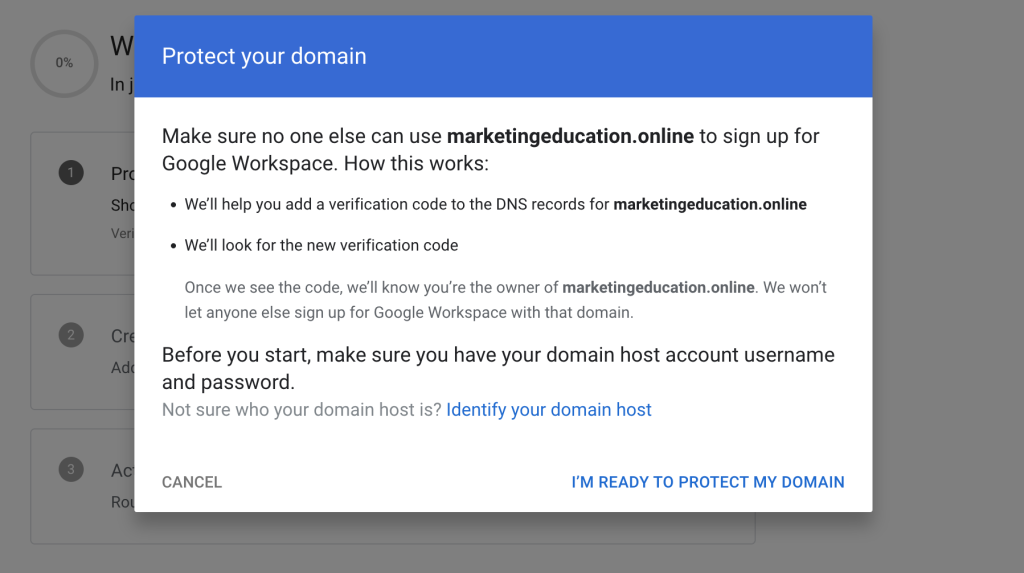
I will directly go to Im Ready because I have full access to domain via FTP, cPanel, DNS and anything.
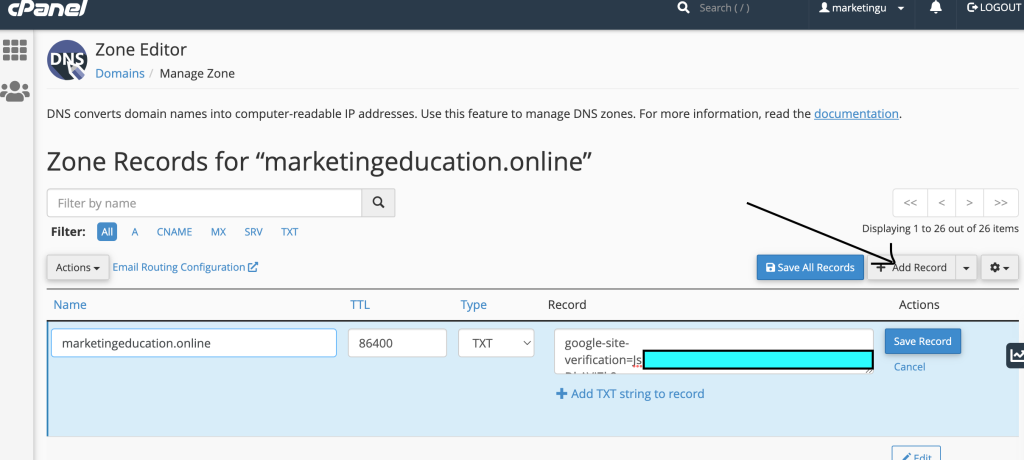
To Protect we will need to verify we own the domain by adding a TXT Record to the DNS.
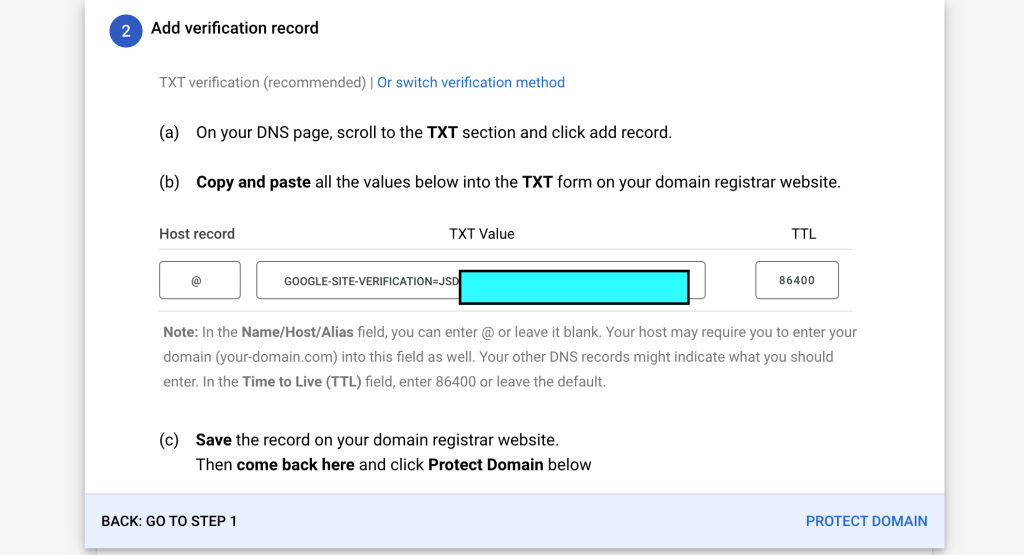
So it is quite simple, just go to Zone Editor on the cPanel Dashboard. Then you Add a record and make sure it looks like this:
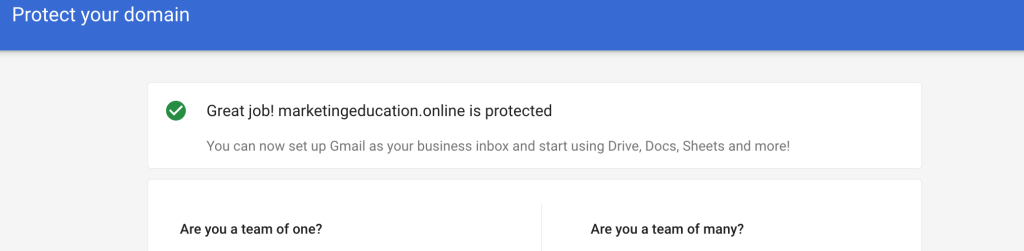
We just have to go back and click on the Protect Domain button. Take in consideration DNS zones might take hours to propagate.
Now we have to Create a User on Google Admin Console.

Then you have to go to https://admin.google.com/ac/domains/manage?hl=en
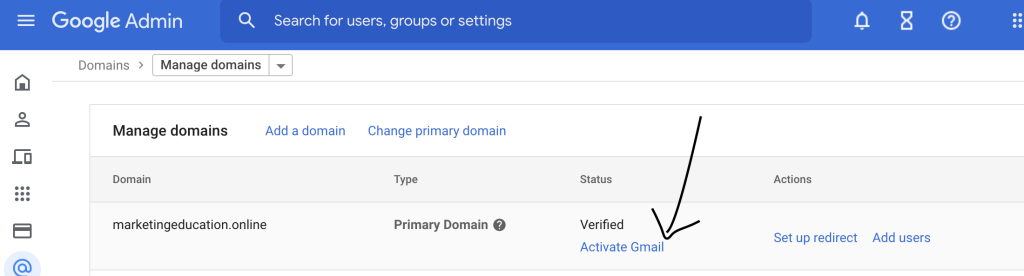
Then you will have to setup a MX Record in order to start receiving and sending. Follow the steps, it is quite good guide. Make sure to delate MX records non related to google as it mentions.
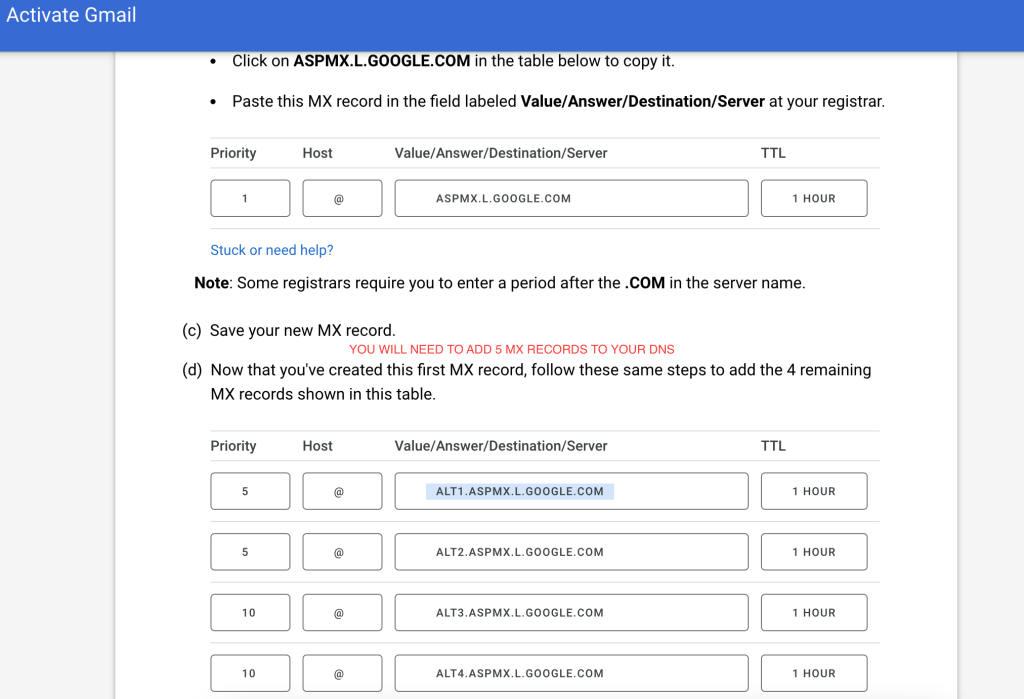
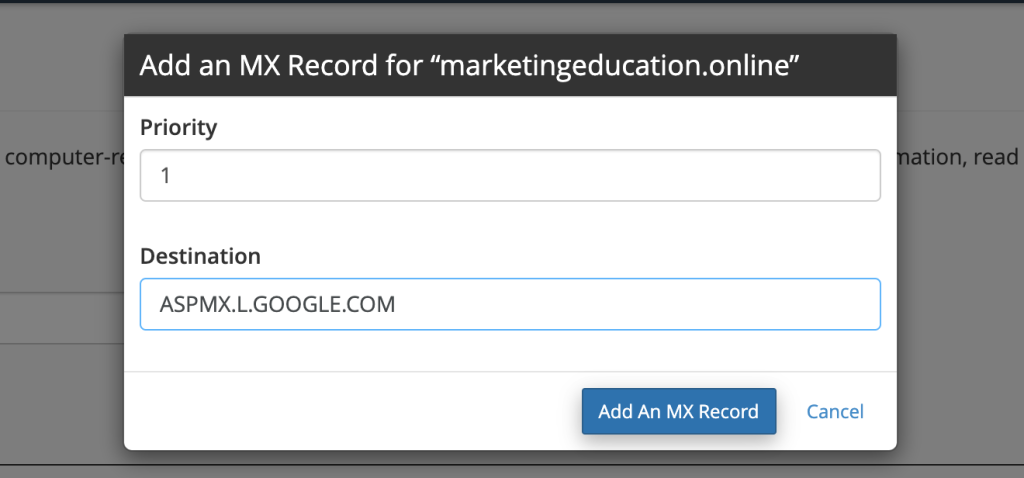
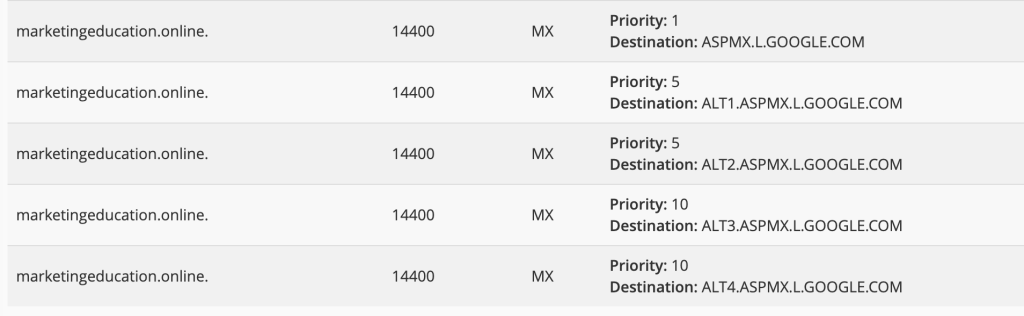
So it will look like this.
Then just click on Activate Gmail at the end of the page. And you will see something like this:
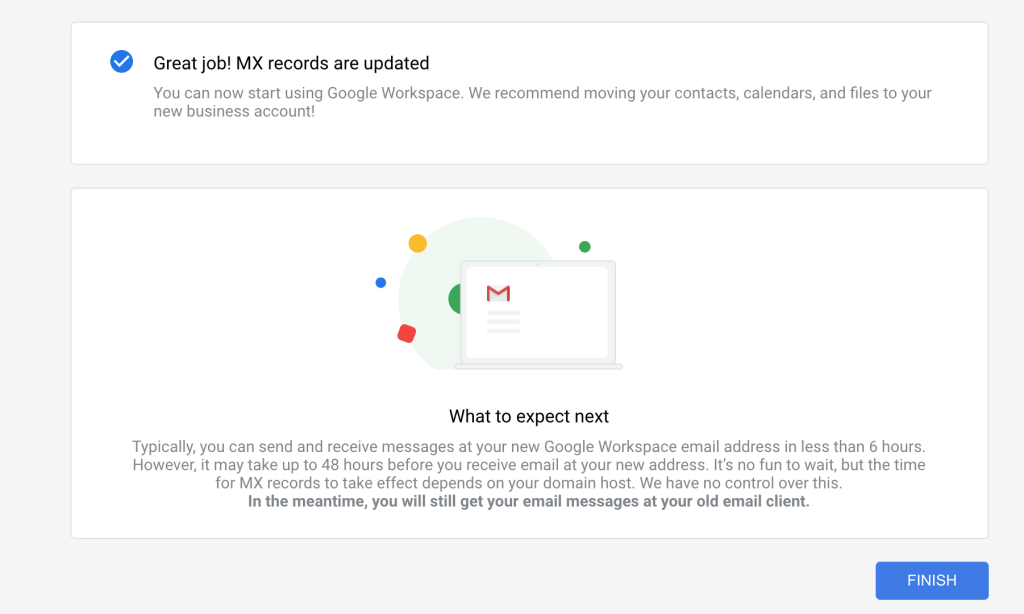
Make sure you can send and receive emails to your other accounts in order to verify it is working properly.
Setting up Cold Emailing platform with our email.
Now you can visit GMass which is a great platform to warm and send cold emails with automatic follow-ups logics in case no response or response.
Make sure to install the GMass Chrome Extension:
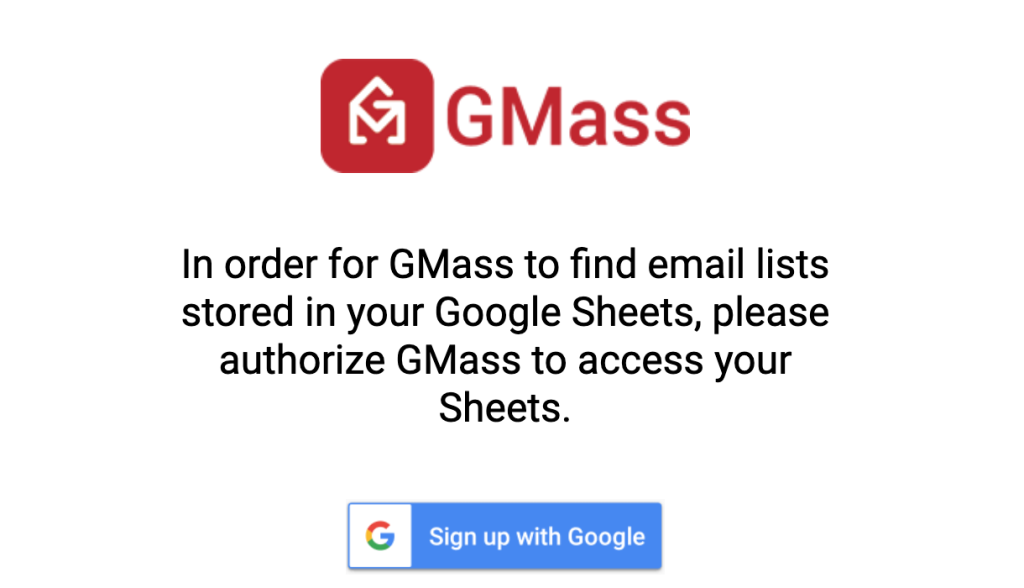
Now open Gmail and you will asked to be Sign Up with GMass. So connect to GMass with your Google Account obviously to make it work.
Allow GMass to read, write and send emails on his behalf.
Now you are connected to Gmass
Getting validated data for your campaigns
In order to get a high responsive campaigns, you will need to gather key data. But since we are using Cold Emailing, you can go a little bit wild on it, gathering also B2C data.
Where to get data?
You can register for a free trial on our System LeadGen.tools and use the Company Finder, People Finder or Lead Spider.
Let’s get some interesting companies on Company Finder and Lead Finder. We will show you how we do it.
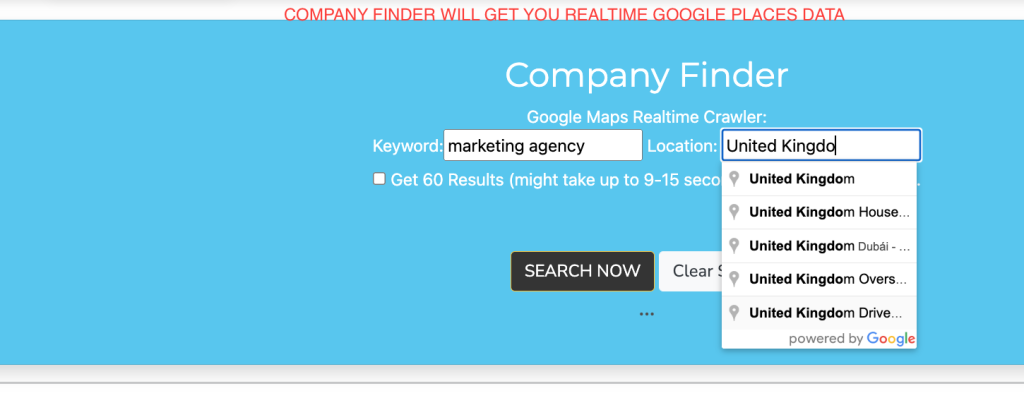
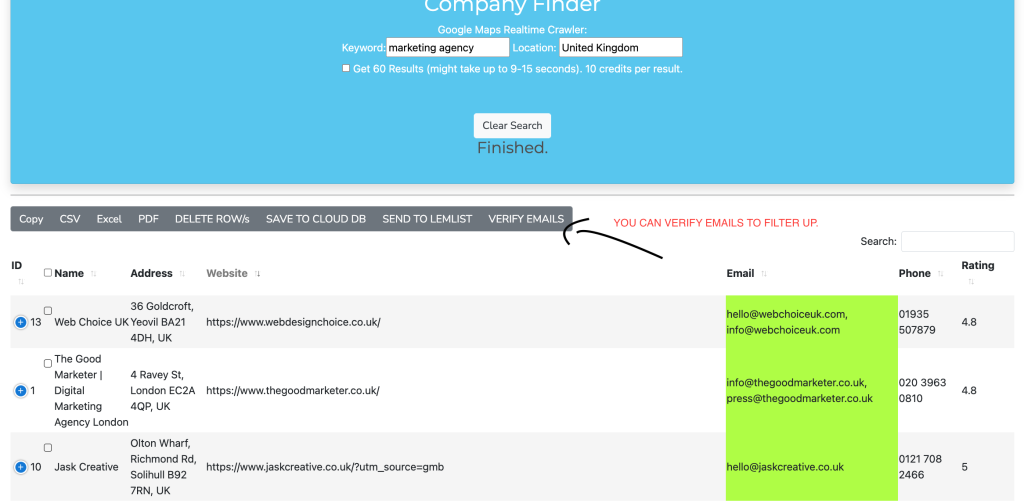
Company Finder
You can get realtime data from Google Places API directly. Then we use our methods to crawl websites to get more contact data points to create different approached.
Lead Spider: https://leadgen.tools/main/core.php?section=datascout
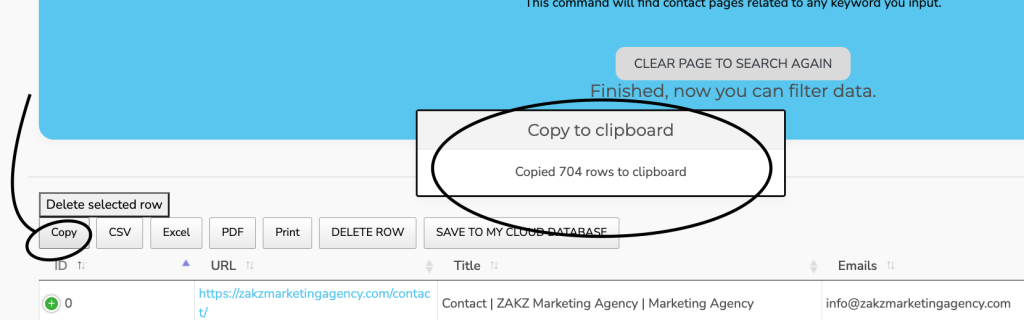
You can search contact pages from thousands of websites indexed on Google. This will crawl each of result to find emails, phones and more data-points.
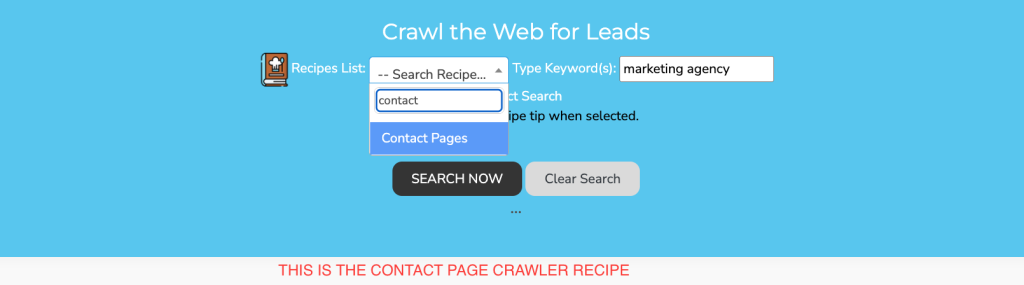
We will search for marketing agencies, so be singular since the perspective needs to be adapted when it comes to finding laser targeted keywords.
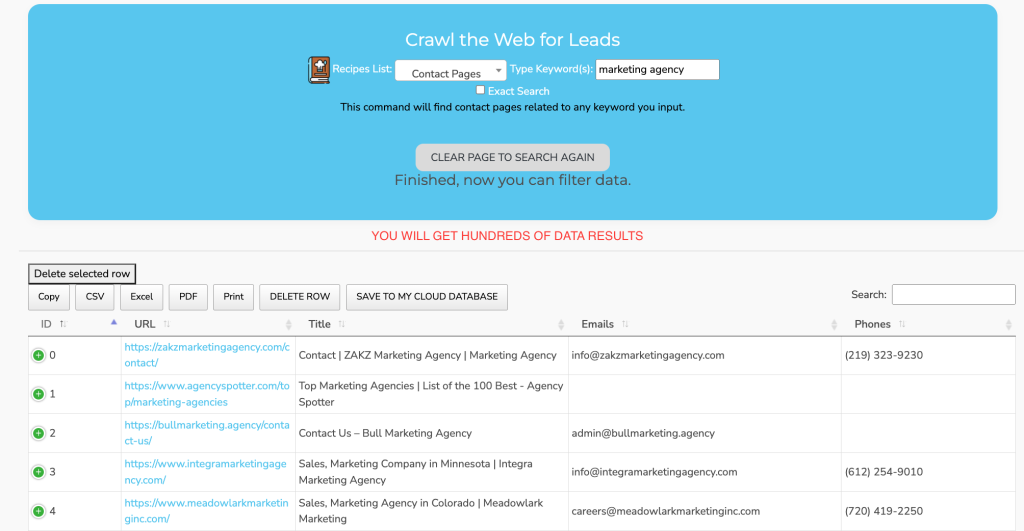
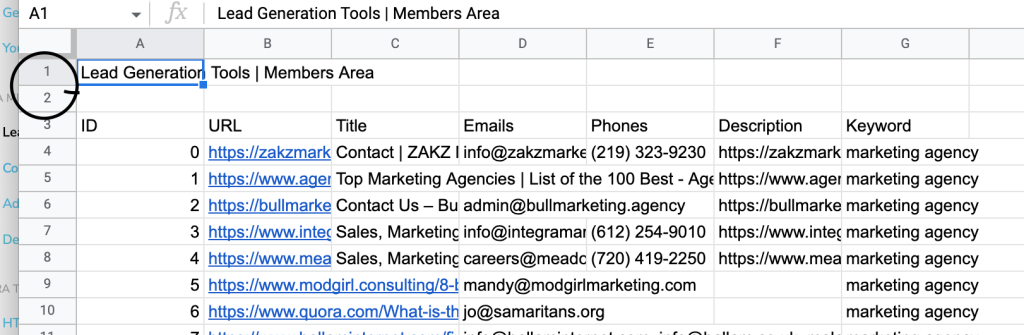
So I gathered up plenty of data into a Google Spreadsheet so we can integrate in the same campaign for GMass and automatic follow-ups.
I will create 2 files since data points are different from Lead Spider and Company Finder.
Remember we scraped also contact pages, so you can also use the Strategy & Method of using Robo Forms to fill up Contact Forms to make an approach with Business prospects and demos on your calendly.
Then you have to go back to your Gmail and Compose a new Email to create a Gmass Campaign
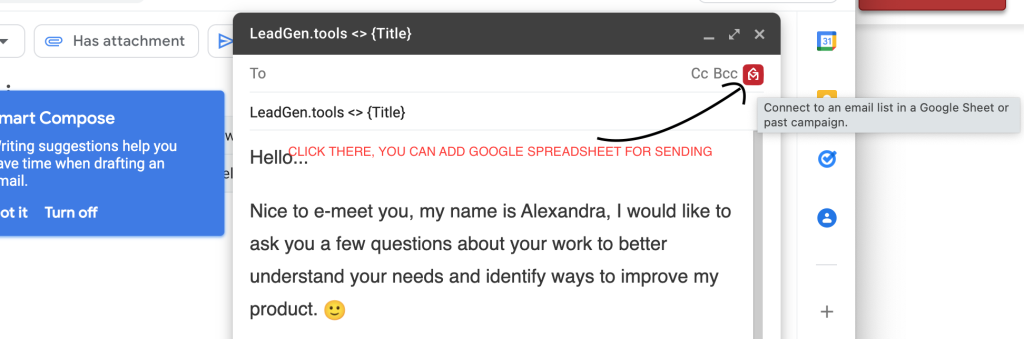
You will need to connect with the same Google account where you have the Email and the Spreadsheets.
Then you will have to add your campaign logics, strategy and follow-ups.
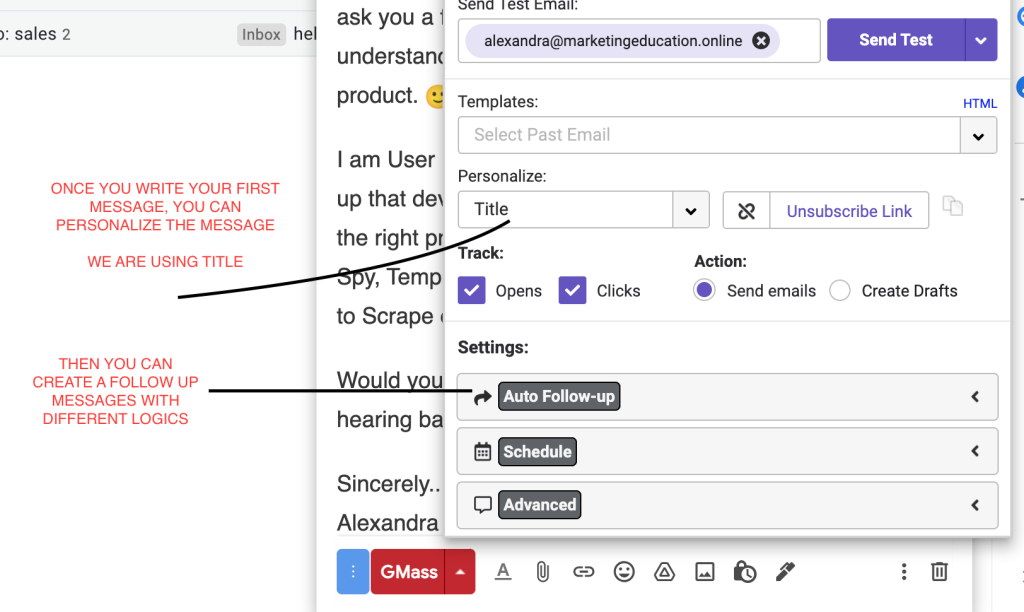
You can find more documentation on your Premium membership. Feel free to request any documentation or discuss methods.
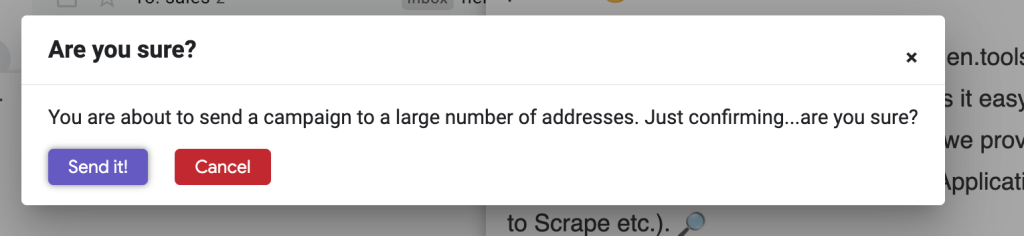
At the end, you will have to just click the GMass button instead of the regular Send.
Hope this article helped you and remember to try our membership for Free.